How to Clean and Store Your Safety Razor
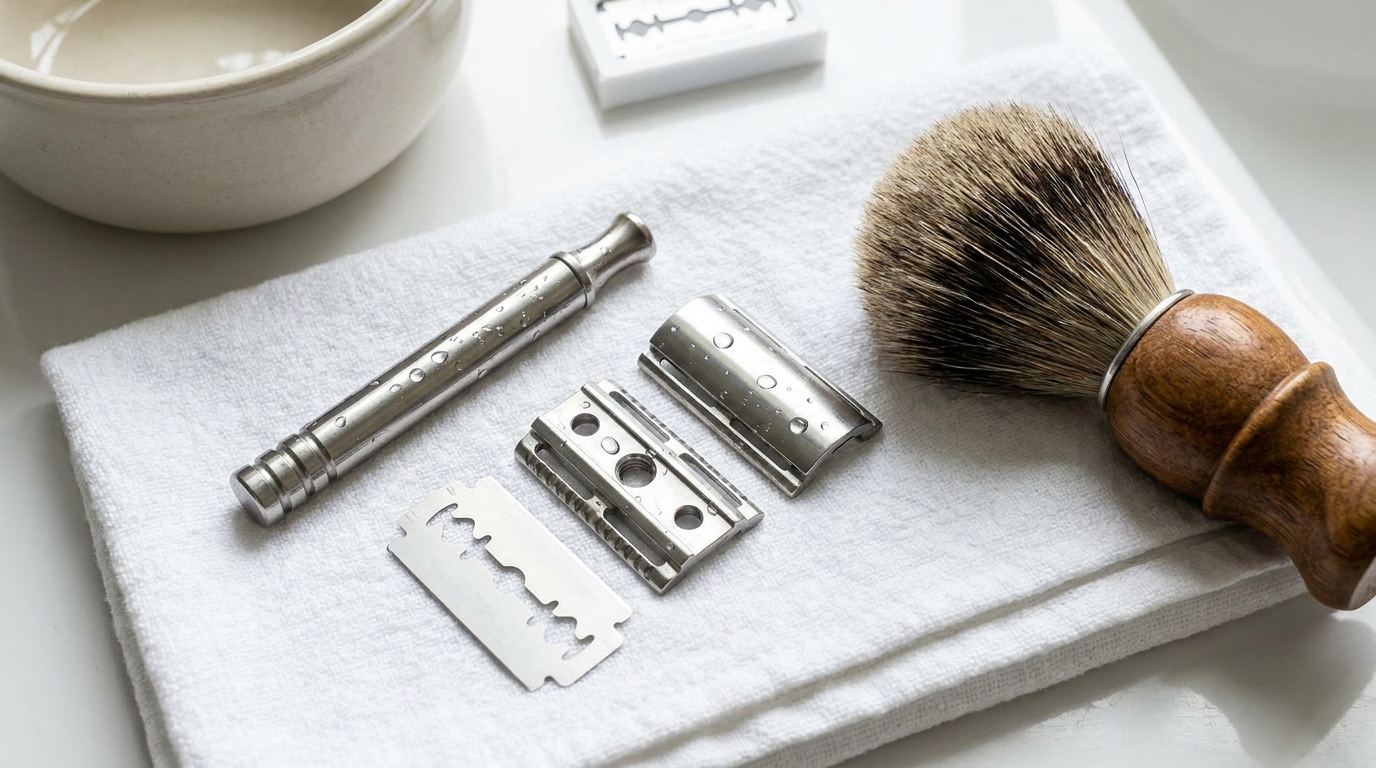
Cleaning a safety razor is simple: rinse it under hot water after every shave, shake off the water, and let it air dry fully. Once a week, take it apart and give it a deeper clean to clear soap scum and mineral buildup before they turn into corrosion.
The enemy is standing water, not use. A razor that dries between shaves lasts for years.
Your after-every-shave routine
Open the razor or loosen the head and rinse hot water through it to flush hair and lather from around the blade. Give it a firm shake to knock off the droplets.
Stand it on a razor stand or lay it on a dry towel with the head off the surface. Air flow matters more than wiping, and this habit does more for blade life than anything else, which ties into how we think about how often to change your razor blade.
The weekly deep clean
Once a week, fully disassemble the razor and remove the blade. Handle the blade by its short edges and set it aside, or bin it if it is spent.
Soak the metal parts in a cup of warm water with a splash of white vinegar for 15 to 20 minutes to dissolve soap scum and hard-water scale. An old soft toothbrush clears the gunk from the comb and threads.
Rinse, dry every piece, and reassemble. Skip bleach and abrasive pads, since they can pit the plating.
Storing it between shaves and for travel
Keep the razor out of a closed, damp cabinet where moisture lingers. Open air on a stand is ideal.
For trips, dry it completely and use a blade-safe case or the guard it came with. Our tips on packing a travel wet shave kit cover doing this without nicking your fingers or your bag.
If you are still choosing your first razor, our picks for the best safety razor for beginners favor models that are easy to take apart and clean.