How to Build the Perfect Lather
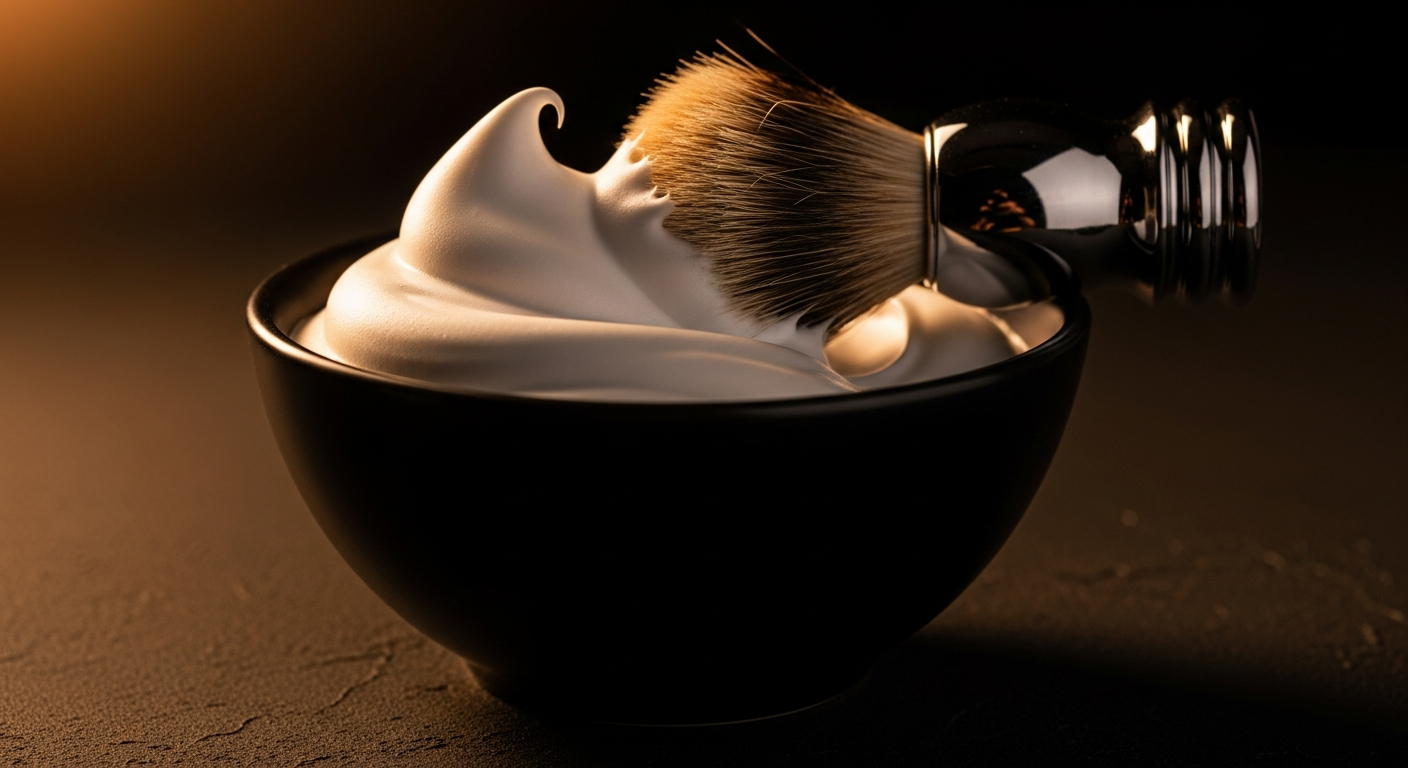
Good lather comes down to three things: the right soap-to-water ratio, a brush that is damp but not dripping, and enough time loading. Nail those, and you get the glossy, yogurt-thick cushion that makes a wet shave feel completely different from anything out of a can. Miss one, and you are fighting bubbly foam or a dry paste that drags across your face.
This guide walks you through every step, from blooming your puck to reading the consistency at the brush tip. It covers the most common mistakes beginners make, the differences between face lathering and bowl lathering, and how soap type changes the process.
What Good Lather Actually Looks Like
The r/wetshaving community describes ideal lather as “yogurt with a sheen.” It holds a soft peak at the brush tip, has a glossy rather than matte surface, and stretches without breaking. Airy, white, mousse-like foam is not the goal. That kind of lather lacks the slickness and cushion that protect your skin.
Two markers tell you you are close: the lather clings to the brush without dripping off, and when you paint it onto your skin it does not collapse flat or disappear into the hair. If it does either, you have more adjusting to do.
Step 1: Bloom the Soap (Hard Pucks Only)
Hard soaps like House of Mammoth and Barrister and Mann have a dense, pressed surface that does not release product easily. Blooming softens that surface so the brush can load efficiently.
- Pour a small amount of warm water directly onto the puck, just enough to cover the surface.
- Let it sit for 60 to 90 seconds while you soak your brush.
- Tip the water off before you start loading. You want a tacky, slightly softened surface, not a puddle.
Creams and croaps (the soft, cream-soap hybrids that Stirling is known for) do not need blooming. You can load them directly or scoop a small amount into a bowl.
Step 2: Prep Your Brush
Soak a synthetic or badger brush in warm water for 30 to 60 seconds. A boar brush benefits from a longer soak because the natural bristles need time to hydrate and splay properly.
After soaking, shake the brush two or three times over the sink. You want the bristles damp throughout but no water pooling at the base or dripping freely from the tips. Too much water in the brush at this stage is the single biggest reason lather turns thin and runny. If you are troubleshooting watery lather, start here.
Step 3: Load the Brush
Press the brush lightly onto the soap surface and work it in small circles or figure-eights. Apply light to moderate pressure, enough to splay the brush tips into the soap.
- Load for 20 to 30 seconds for a soft croap like Stirling.
- Load for 30 to 45 seconds for a hard puck like House of Mammoth or Barrister and Mann.
- The brush should pick up a visible coating of product. Lift it and check: you want the tips loaded with a thick paste, not a thin film.
Under-loading is another common mistake. A quick swipe of the puck gives you just enough product to start lathering but not enough to finish a pass. When in doubt, load a few extra seconds.
Step 4: Build the Lather
This is where you choose your method. Both work well. The difference is personal preference and how much control you want over water additions.
Face Lathering
Paint the loaded brush directly onto your wet face and work it in circles. The heat from your skin activates the soap and the texture of facial hair helps build structure quickly. Most experienced shavers in the Badger and Blade community prefer face lathering for the added exfoliation and massage.
Add water in very small increments, literally a few drops onto the brush tips, and continue working the lather on your face. This is the hardest part to calibrate at first because the brush absorbs water unevenly. Take it slow.
Bowl Lathering
Load the brush onto the puck, then transfer to a bowl and work in fast circles. A bowl gives you a visible lather column to assess consistency before it goes on your face. Sharpologist recommends bowl lathering for beginners specifically because it makes the water-addition process easier to control.
The mechanics are the same: add tiny amounts of water, keep working, watch the surface. You are building toward that glossy, peak-holding consistency.
Reading Lather Consistency: The Three Stages
Learning to read your lather mid-build is the real skill. There are three distinct stages you will pass through.
- Too dry (paste stage): The brush drags, the lather is thick but matte with no sheen, and it grabs rather than glides. Add a few drops of water and keep working.
- Too wet (runny stage): The lather collapses flat, has a watery sheen rather than a creamy one, and drips freely. You have added too much water. Load more product directly from the puck onto the brush and keep building.
- Just right (glossy-peak stage): The lather holds soft peaks, has a wet but structured look, and paints onto skin without collapsing. This is where you stop adding water.
The most common beginner error is stopping at the paste stage because the brush feels full. That lather will dry out on your face before you finish a pass. Keep going until you see the sheen.
Hard Water and What to Do About It
Hard water is high in calcium and magnesium ions that bond with soap molecules instead of letting them lather. If you live in a hard-water area, you may find even quality soaps like Proraso or Barrister and Mann produce thin, slimy lather that never quite builds.
The community-tested fix is distilled or filtered water for lather building. Keep a small bottle next to your shave sink and use it just for the water additions in step four. The difference is immediate and significant.
A small amount of citric acid dissolved in water (called a slake) achieves the same result and is a popular option in the r/wetshaving community for permanent hard-water solutions.
Soap Type Changes the Process Slightly
Hard triple-milled tallow soaps take longer to load and produce a denser lather that tolerates more water. Vegan soaps built on stearic acid and kokum butter, like many from Stirling, lather faster and can go runny quickly if you over-water.
Creams like Proraso load in seconds but also tip watery fast. Start with less water than you think you need and add incrementally. The adjustment from a hard soap to a cream or vice versa takes one or two shaves to recalibrate.
For more context on which soaps perform best in each format, the shaving soap tier list breaks down performance by category.
Troubleshooting Common Lather Problems
Lather is thin and bubbly
Too much water in the brush at the start, or too much added during building. Load more product from the puck directly onto the damp (not wet) brush and work it back in.
Lather dries out on your face mid-pass
Under-loaded brush or lather built too dry. Reload the brush and add water more aggressively during the next build cycle. The paste stage is not the finish line.
No slickness, lather feels like it is just sitting on top
Usually a hard-water problem or an under-hydrated brush. Try distilled water. If slickness is still absent, load heavier and build longer before applying to face.
Lather collapses as soon as it touches skin
Over-watered. The structure has broken down. Go back to the puck, load more product, and rebuild with less water this time.
If you are still working through brush selection alongside your soap setup, the best shave brush guide covers knot types, backbone, and how brush choice affects lather behavior. New to wet shaving entirely? The beginner’s guide walks through the full kit before you spend on soaps.
Frequently Asked Questions
How long should I load the brush onto the soap?
Between 20 and 45 seconds depending on soap hardness. Hard triple-milled pucks need longer; soft croaps and creams load in 20 seconds or less. The exact time varies by brand density, so load longer the first time with any new soap until you know how it behaves.
What is the difference between face lathering and bowl lathering?
Face lathering builds directly on your skin using facial heat and hair texture to develop the lather. Bowl lathering builds in a separate vessel so you can assess consistency before applying. Both produce the same result with practice; beginners often find bowl lathering easier to control because water additions are more visible.
Why does my lather turn out thin and airy instead of creamy?
The most common cause is too much water either in the brush at the start or added during building. Shake the brush more thoroughly after soaking, and add water in drops rather than splashes during the build phase.
Does blooming the soap make a real difference?
For hard pucks, yes. Blooming softens the surface and makes loading significantly faster and more efficient. For croaps and creams, skip it. The bloom step adds about 90 seconds to your routine but saves repeated passes over a resistant puck.
How do I fix lather that has gone too runny mid-shave?
Press the brush back onto the puck and load more product without rinsing the brush first. Work that additional product into the existing lather. The extra soap will absorb excess water and rebuild structure in about 30 seconds of working.
Does water temperature affect lather quality?
Warm water works better than cold for brush soaking and lather building. It hydrates natural bristles faster and helps soap release from the puck more readily. Very hot water can over-soften the puck surface and make it harder to load cleanly, so aim for comfortably warm rather than scalding.